Plastic Card City
Tel: 845-507-0220
By: “Billy Two Hats”
A challenge I confront on an almost daily basis is to complete a task as fast as possible. Mostly because, when asked, I will indicate that a job can be done and the time estimate I give is based more on finding a price estimate that a customer would agree to than the actual time required to complete the task. To make this work I incorporate two methods. One, collect a bank of design tricks that I can easily access and a system to remember their existence. Two, plot the steps in a job before I start, this will eliminate repetitive actions and speed up the job. In this tutorial I will use the second method and the result will be a design trick I will store for future use.
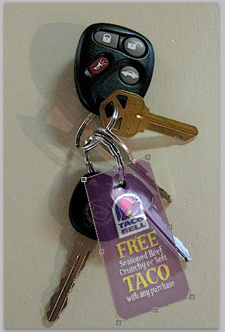
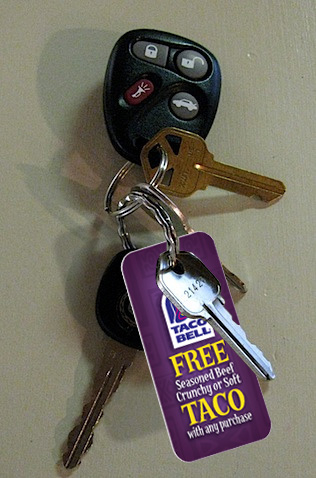
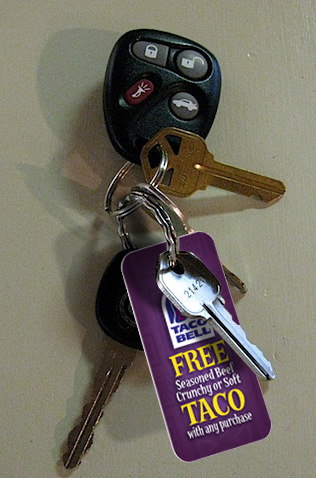
This mission is to make a flat design of a key tag become three dimensional and find its place on a key ring with other keys.
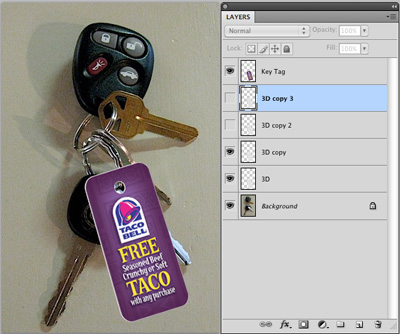
These are the elements I have to work with:
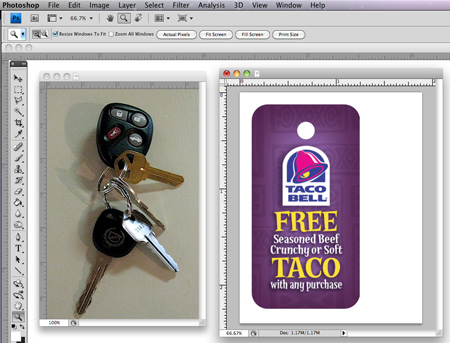
So, first I plan my steps:
- Cut out the key tag
- Find the key tag’s placement on the key ring resize and change the perspective
- Make the Key tag 3D
- Make a shadow for the key tag and match it to the existing shadow
- Cut out the elements (key’s and ring) that will appear above the key tag
- Create and adjust all shadows
- Final touches
Step 1. This is a standard procedure, I use the magic wand tool. Keep the Contiguous box checked and the Tolerance around 5. Hold down Shift and click in the hole and outside the bun… eh the key tag.
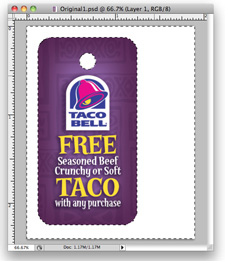 Click Delete:
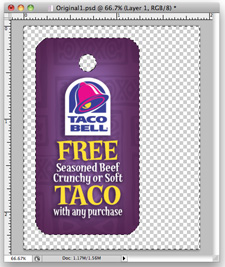
Drag the key tag over to the key ring image and change to Opacity to 50%.
Step 2. To save time I like to resize and create the perspective all at once. To do so I use Free Transform (Command+T on Mac, Ctrl+T on PC) and the Command/Ctrl key. First I look at the image and imagine where the corners of the key tag should be, a good imagination comes in handy and is essential for designers. Hold down the Command/Ctrl key and drag each corner to the position it should be in:
Keep on working until the key tag is in place and looks as natural as possible ( as natural as a ghost can be). Above image has a problem with the perspective making the key tag look warped (trapezoid). Here is a better result:
Step 3. 3D, change Opacity back to 100%. Select the Magic Wand tool, unclick the Contiguous box (we want to get the hole in one…click), click outside the key tag, go to menu item Select and click on Inverse. There is a hot key combination to do this but I find it faster to use the mouse because it is already in motion. This is the result:
Next, create a new layer and fill the key tag area with a light gray (CMYK 10,7,8.0). These key tags have a dirty white sides. I do this with the layer above just to make sure it is correct, I hate having to retract because of errors.
 Now drag this new layer below the key tag layer:
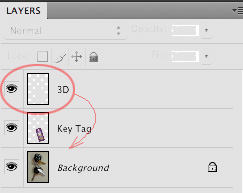
Next the 3D effect, hold the Option+Command/Ctrl+Alt keys down and slowly, yes, sometimes we need to slow down, click the left cursor key several times until we see a nice left side to our key tag. This will create new layers to form the side of the tag. You can hide them one at a time until you get the result you want. In my example I clicked 4 times but only needed two. In most cases you will need to use two cursor directions to create a good 3D effect, due to the angle of my image only one was needed.
Next merge the tag layer and all the 3D layers, much faster than deleting the ones you didn't’t use, they will magically disappear.
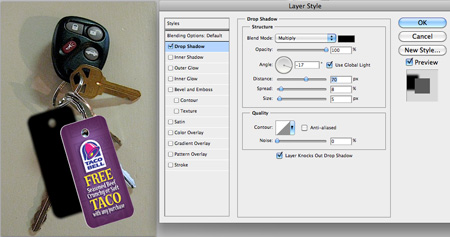
When you got it reduce the Opacity until a nice blend occurs. Click OK and create a duplicate layer, you will use the duplicate layer to copy the shadow effect to other elements so hide the duplicate layer. Later we will need to erase some of the overlapping shadows so we need to make a separate layer for this shadow. Select menu items Layer – Layer Style – Create Layer, now you have the shadow on a separate layer for use later. Now you know why we created the duplicate layer, this procedure erases the information!
Step 4. The top key and part of the ring need to be above the tag. To do this I will cut out the elements and create a new layer with the cut, note that because of the long shadows the bottom part of the key will be needed to create a correct shadow on the tag.
I hide the tag and shadow layers. Next I use the Polygon Tool to cut out the key and part of the ring:
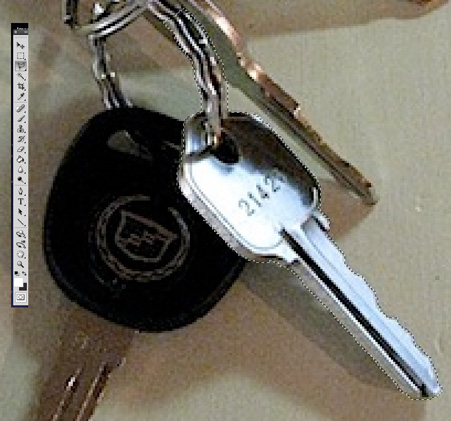
And then I click Command+C/Ctrl+C and Command+V/Ctrl+V to create a new layer with the cut out elements on it, finish the step by moving this layer to the top and revealing the hidden layers.
Step 6. Select the hidden layer with the shadow, Control+Click/Right Click the 'f' (effect indicator) in the layer and select Copy Layer Style. Next Control+Click/Right Click in the cut out layer and select Paste Layer Style. The key plus ring shadow is now on the tag.
Now we need to erase the overlapping and incorrect shadows. On the last shadow layer (key and ring) erase all the shadows that appear above the tag. On the tag shadow layer erase the tag shadow that overlaps the other key shadows.
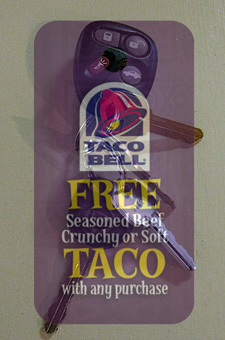
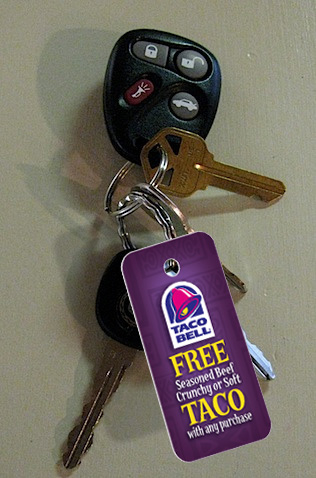
Step 7. Merge the tag shadow with the background image and use the Burn tool to even out the shadows. As a final touch you can experiment with the tag layer by applying a blur to make it look more natural compared to the other elements. Don’t spend to much time on this! There are other jobs waiting!
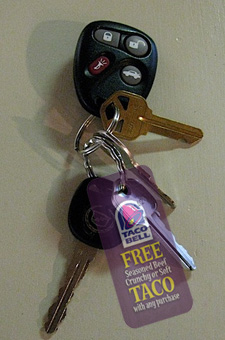
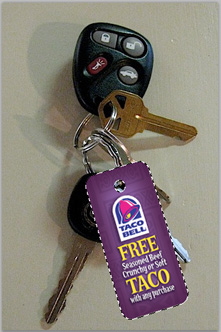
The final result:
Billy Two Hats a.k.a. David Geyra is the design director at Plastic Card City where he directs a team of designers in the plastic card printing industry.

All card images used with permission.